Our projects
Restoring an old Phillips Screw Driver...
Initial State - Screwdriver Bolt
Found a lone screwdriver bolt that needed a handle. This bolt is the starting point for creating a fully functional screwdriver.

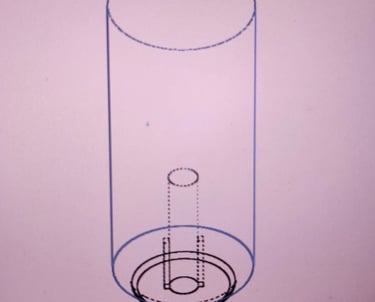

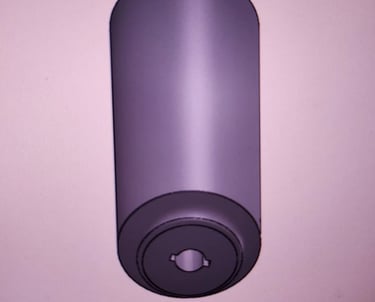
CAD Model Filled in
Designed a custom handle for the screwdriver bolt using CAD software. This model ensures a perfect fit and ergonomic grip.
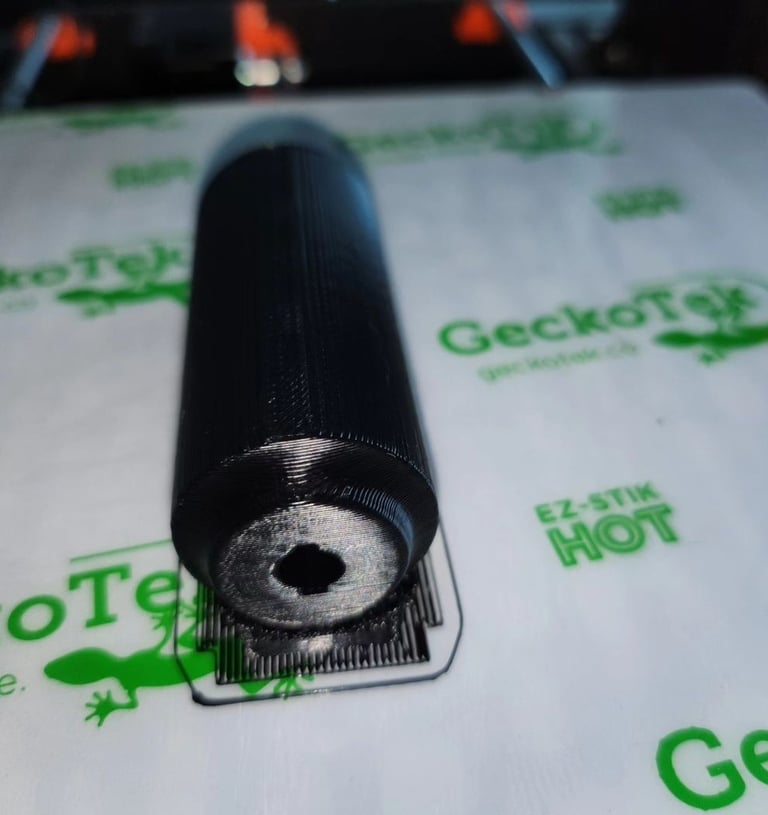

Printed handle, Fresh off the printer
The 3D printed handle fresh off the printer.
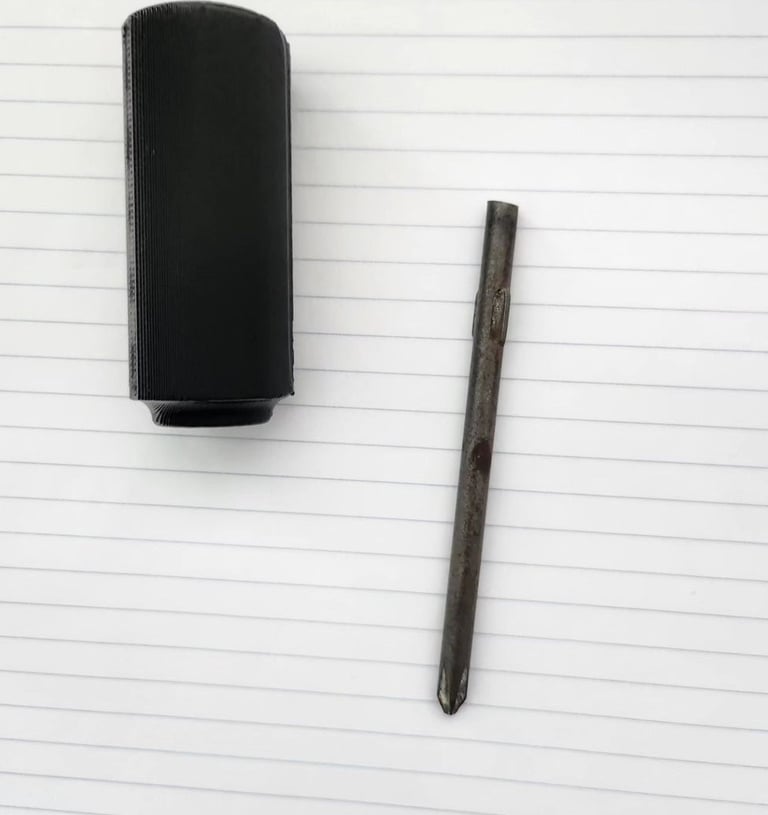

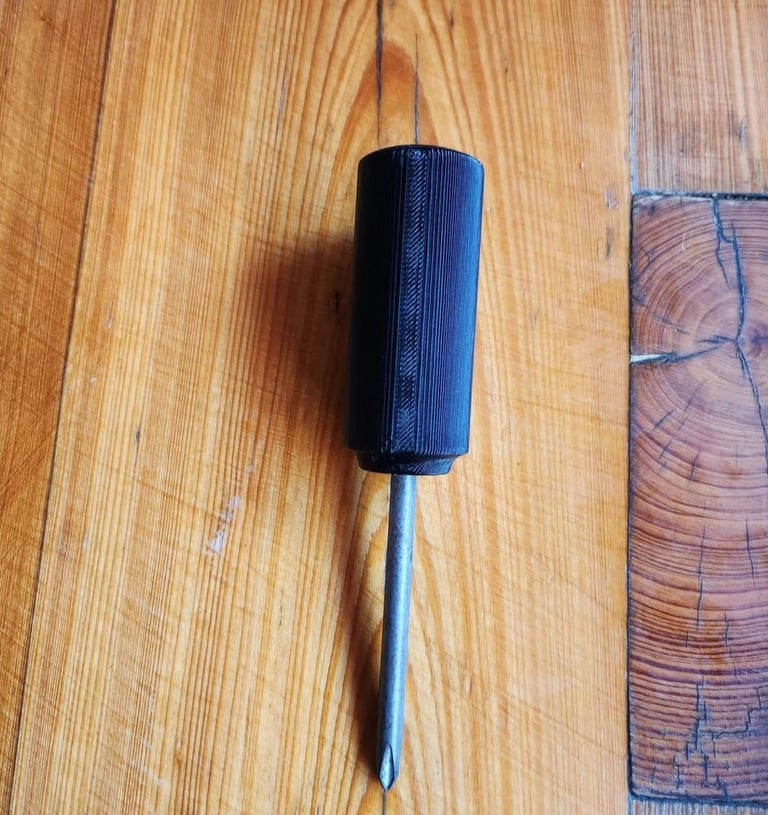

Assembling the Screwdriver - Bolt and Handle:
The 3D printed handle fresh off the printer. The next step is to fit this handle onto the screwdriver bolt.
Completed Screwdriver - Final Product
The final product - a fully functional screwdriver with a custom-designed handle. The transformation is complete, ready for use.
Transmission Fluid Spill
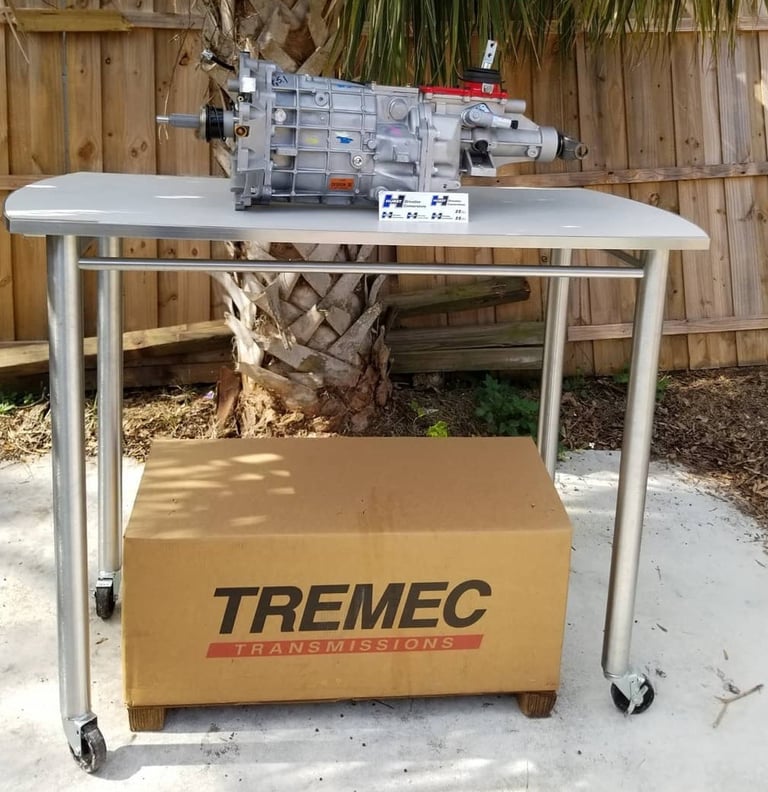

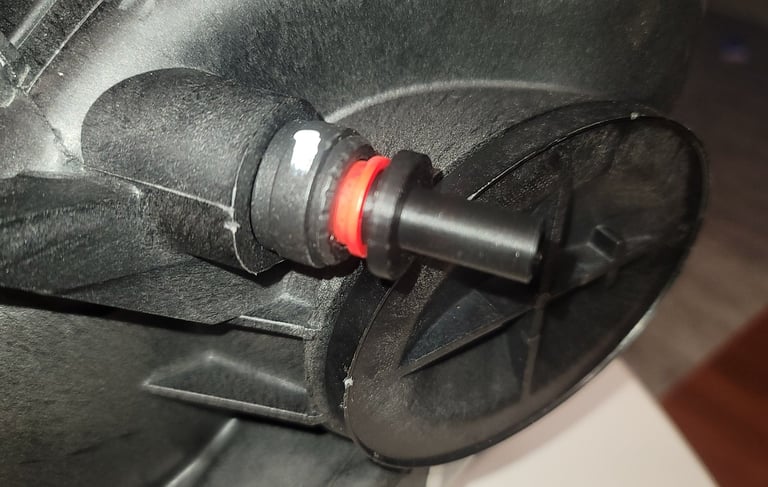
Custom output shaft plug for the beautiful Tremec T56, 6 speed.
Transmission Fluid Spill
During routine maintenance, a spill of red manual transmission fluid occurred. This incident highlights the importance of careful handling and cleanup during automotive work. Ensuring proper containment and disposal of such fluids is crucial for both safety and environmental protection.


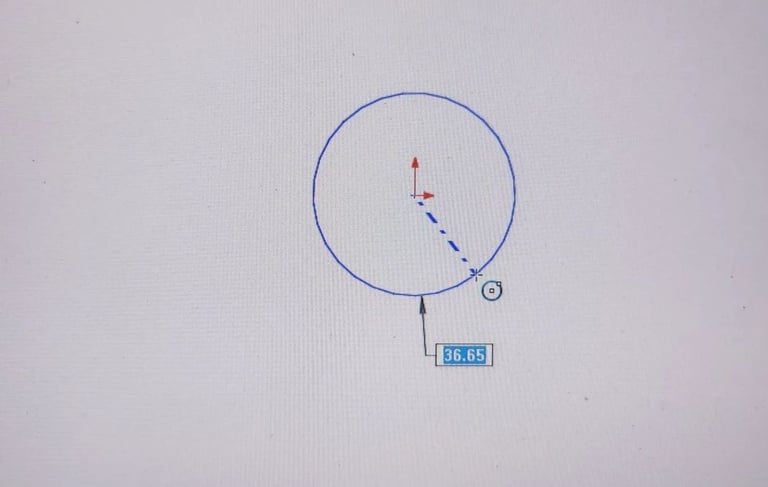


Planning and Sketching
Documenting the initial concept for a new project. This stage involves detailed sketching and planning to ensure accurate measurements and design before moving to the digital modeling phase.
Creating CAD Model
Translating the hand-drawn sketch into a precise CAD model. This step involves defining dimensions and ensuring the design meets all functional requirements.
Finalized CAD Design
Completing the CAD model with all the necessary details. The final design is now ready for 3D printing, ensuring all components fit together perfectly.
3D Printed Prototype
Producing the first prototype using a 3D printer. This step brings the digital model to life, allowing for hands-on testing and further refinement.
Initial 3D Printed Model
The first iteration of the 3D printed model. This initial print allows for hands-on evaluation to identify any necessary adjustments or improvements before finalizing the design.
Fitting the Prototype
Testing the fit of the 3D printed prototype. This step ensures the model correctly aligns with existing components and performs as expected in a real-world application.
Prototype in Action
Observing the 3D printed prototype in use. This phase involves practical testing to verify functionality and durability under actual working conditions. The prototype is now fully functional and serves as a reusable tool, effectively solving the problem of transmission fluid pouring out of the back of the input shaft.
ABS Printed Inline Adapter for LS Style Intake
A custom-designed ABS inline adapter.
